Step one was to mark out the areas to be cut, on either side of (and parallel to) the current glue lines. By marking the new lines out a mere half inch on either side of the end of the splice along the center line, I should only end up losing about an inch in total from the length. One can note from the images that this results in a narrow (but reasonable) area in which to cut the slanted parts of the splice. By my reckoning, I should be able to cut exactly along the glue line, then pare back to the penciled lines and have a new splice joint pretty close to fitting spot on...

...but first, I'll need to drill a hole just big enough for me to snake a coping saw blade through! The hole is drilled not at the very end of the splice, but in my closest approximation to what will be a waste area (based on the penciled lines). This means I will need to saw in both directions, but I want to have as clean a spliced line as possible.
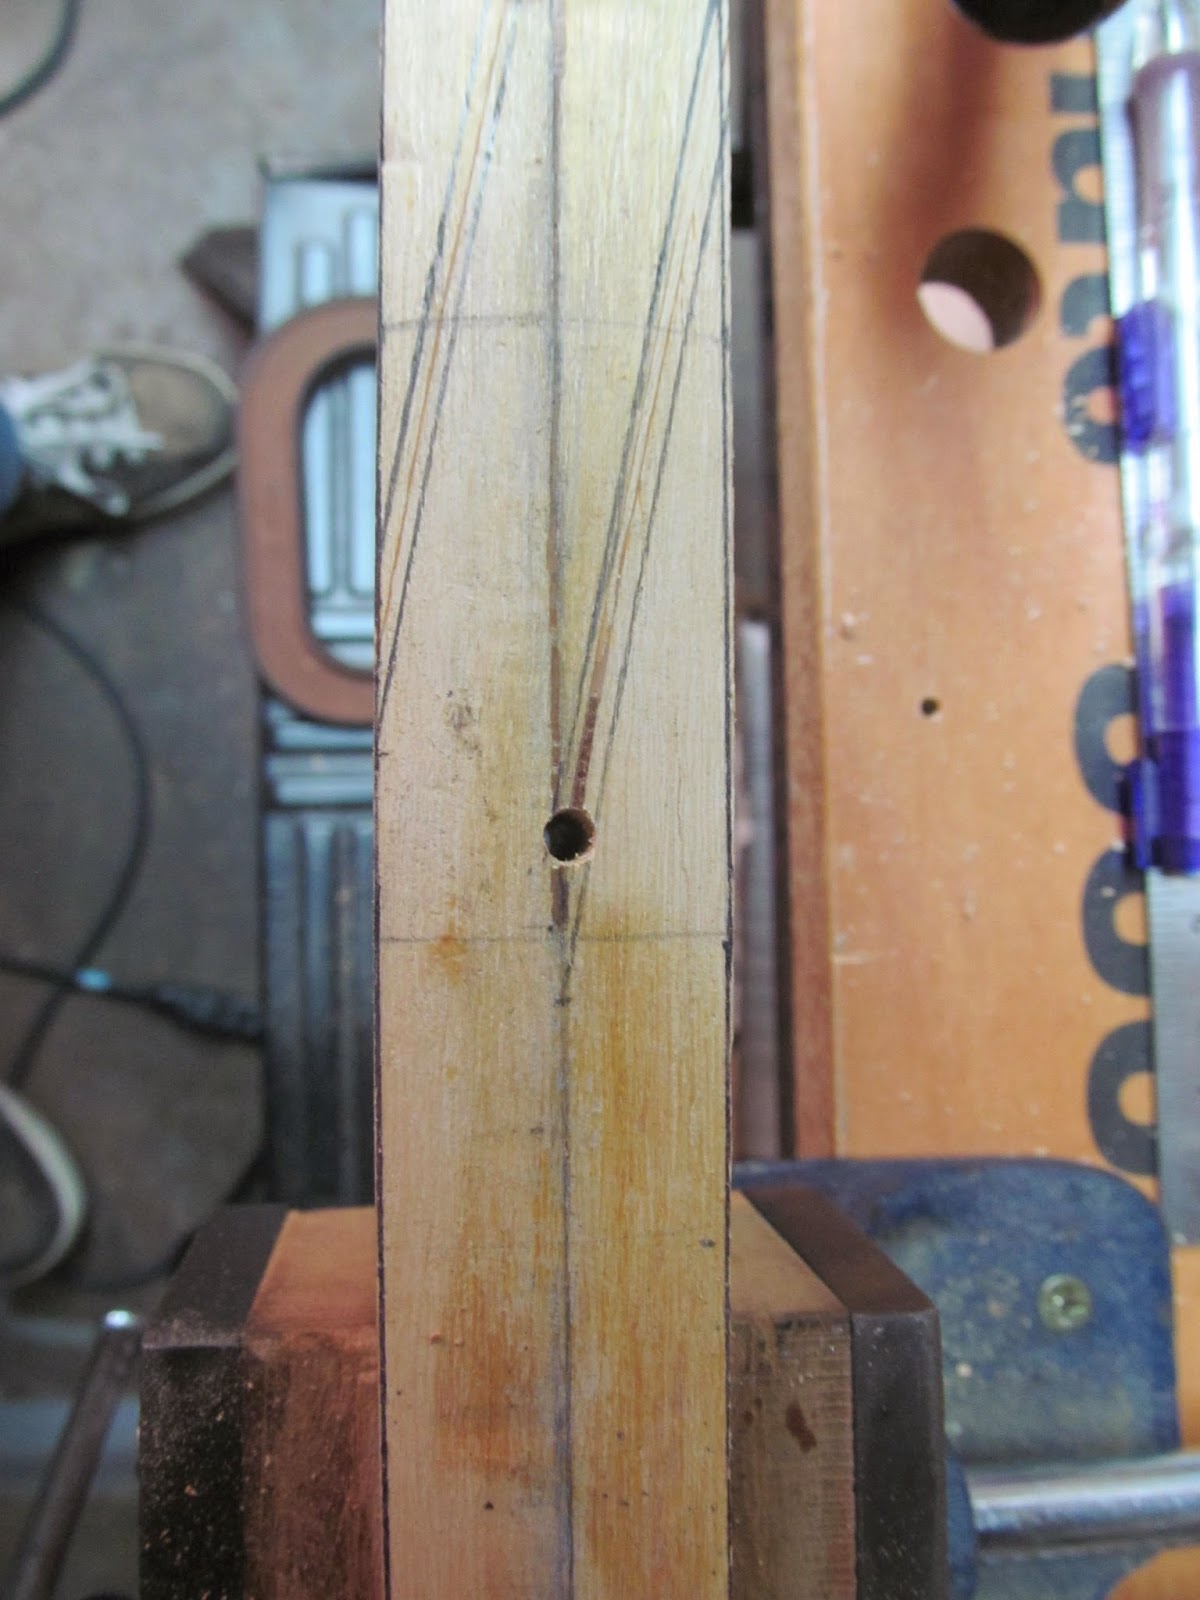 |
| Starter hole from the back. |
 |
| Starter hole where it exited the belly. |


Things got a little jagged running the other way, as I was using my left hand. It got a little detracked on the belly side, so I had to recut a section there. No worries -- I'll fill that tiny section with a wood offcut, and the glue should patch it right up. I finished up the last bit with a Japanese pull saw, as it had no back and just fit in the slot. This worked great, as it was a lot sharper than the coping saw blade, despite the latter being new. It also did wonders on cutting the slants quickly but accurately.
Below is the cut-apart splice, waiting to be trimmed up. (The blue on the interior of the right piece is paint or something from the writing on the Japanese saw. It will come off in the cleaning up.) One nice thing is that by following the previous glue lines, the resulting splice angles should line up pretty accurately and it should only be a matter of needing to refine the surfaces slightly. You'll notice from the following image that I biased my cuts to one side of the glue line so that I could just focus on cleaning up the outside edge on each joint instead of working hard to reduce the interior angles.

I apparently got caught up again in the doing rather than the recording and forgot to take additional pictures of the finished splice during fitting and the glue-up process. Suffice to say, it took a little bit of finessing and I had to use some yew offcuts to fill the gaps (most significantly, the saw kerf from the "inner cut" on the center line, as failing to do so would have shifted the centerlines of the two limbs fractionally). Mostly I think it turned out okay: I only lost an inch (the stave is now 75 inches overall), but I did decide to add a tiny bit of reflex by joining the limbs together at a very small angle. It is probably not enough to be noticeable, but every little bit counts. I daresay that the joint looks a little more solid than it did the first time, so maybe being forced to redo it was providence?!
No comments:
Post a Comment